
Automating Kubernetes Operations
Why use Flux?
Adding New Resources: When you add new Kubernetes manifests such as Deployments, Flux automatically detects and applies them to create resources in the cluster.
Updating Existing Resources: Flux detects modifications to existing files, like changes to
replicasin a Deployment, and updates the resources accordingly.Deleting Resources: If you remove a manifest file from your repository, Flux removes the corresponding resource from the cluster.
Easy Rollbacks: Enables quick reversion to previous configurations by reverting commits in Git.
Auditable History: Provides a traceable record of all changes made, directly linked to Git commits.
With Flux, your Kubernetes environment is consistently synchronized with your repository, ensuring a reliable deployment process that aligns with GitOps principles.
Prerequisites
To use Flux effectively, you need:
- Source of Configuration: A Git repository (such as GitHub, GitLab, or Bitbucket) or any other compatible source control system to store your Kubernetes configuration files. Flux will sync and monitor this source for changes, ensuring your cluster’s configuration is always up-to-date.
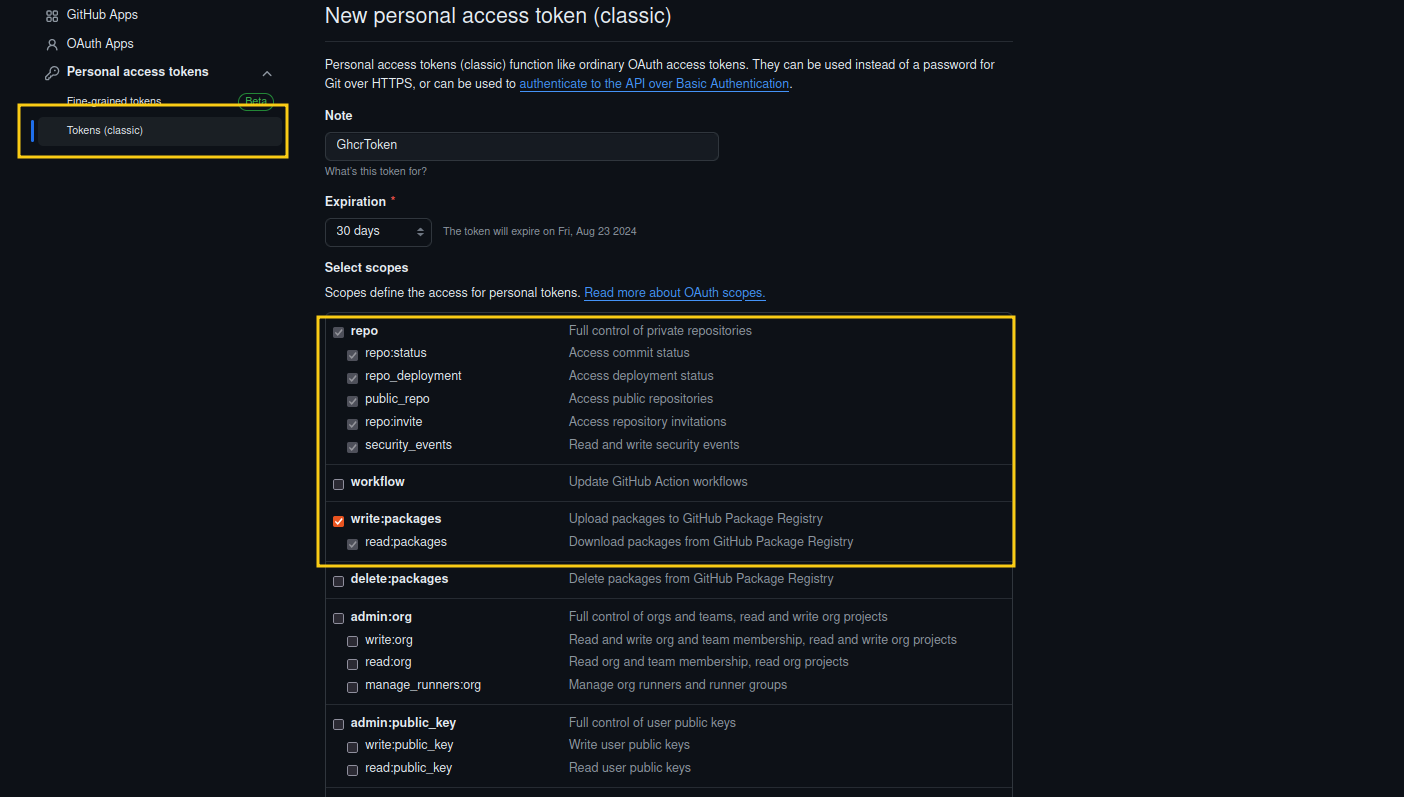
- Access Token: A token that allows Flux to pull from and push to your Git repository. Ensure the token has the appropriate permissions for repository access. For detailed instructions on how to create this token, check out the official Github documentation.
For this guide, we’ll use code hosted on GitHub.
Get Started with Flux
Follow these steps to set up Flux on your Kubernetes cluster:
1. Install the Flux CLI
To manage Flux on your cluster, you need to install the Flux CLI. Execute the following command:
curl -s https://fluxcd.io/install.sh | sudo bash2. Check Prerequisites
Ensure that your Kubernetes cluster meets the necessary prerequisites. Run the following command:
flux check --preYou should see output similar to this if everything is ready:
► checking prerequisites
✔ kubernetes 1.28.0 >=1.25.0
✔ prerequisites checks passed
3. Set Up Environment Variables
Remember how we created a PAT Token forGithub? This is where you input it now together with your Github username.
export GITHUB_TOKEN=<your-token>
export GITHUB_USER=<your-username>
4. Bootstrap Flux
To help you get started, here’s an example of how your Git repository should be structured. This structure ensures that Flux can properly manage your Kubernetes cluster configurations:
your-repository-name/
├── custom-code-base/
│   ├── src/
│   ├── tests/
│   └── Dockerfile
├── manifests/
│   ├── kustomization.yaml
│   ├── namespace.yaml
│   ├── deployment.yaml
│   └── service.yaml
└── README.md
Now, you’re ready to set up Flux on your cluster. Use the flux bootstrap github command to initialize Flux with your GitHub repository:
flux bootstrap github \
  --token-auth \
  --owner=$GITHUB_USER \
  --repository=your-repository-name \
  --branch=master \
  --path=manifests \
  --personal # (just needed if it's your personal GitHub account)
Testing Flux with Practical Use Cases
Once Flux is configured and monitoring your repository, you can perform some basic tests to ensure that it is properly syncing and applying configurations. Here are a few simple use cases you can try:
Use Case 1: Adding a New Deployment
- Objective: To verify that Flux automatically applies new deployments added to the repository.
- Action: Create a new file named
nginx-deployment.yamlin themanifestsfolder with the following content:
  apiVersion: apps/v1
  kind: Deployment
  metadata:
    name: nginx-test
    namespace: web
  spec:
    replicas: 1
    selector:
      matchLabels:
        app: nginx-test
    template:
      metadata:
        labels:
          app: nginx-test
      spec:
        containers:
          - name: nginx
            image: nginx:latest
            ports:
- containerPort: 80- Action: Create a file named
web-namespace.yaml
  apiVersion: v1
  kind: Namespace
  metadata:
    name: web
- Test: Commit and push this file to your Git repository. Monitor your cluster to see if Flux deploys the
nginx-testdeployment.
kubectl get deployments -n webNAME READY UP-TO-DATE AVAILABLE AGE
nginx-deployment 1/1 1 1 27sUse Case 2: Updating a Deployment’s Replica Count
- Objective: To check if Flux correctly applies updates to existing deployments.
- Action: Modify the
nginx-deployment.yamlby changing thereplicasvalue from1to3. - Test: Commit and push the change. Verify that the number of replicas for the
nginx-testdeployment updates to 3 in your cluster.
kubectl get deployments -n webNAME READY UP-TO-DATE AVAILABLE AGE
nginx-deployment 3/3 3 3 1m40sUse Case 3: Removing a Deployment
- Objective: To confirm that Flux removes resources that are deleted from the repository.
- Action: Delete the
nginx-deployment.yamlfile from the repository. - Test: Commit and push this deletion. Observe if Flux removes the
nginx-testdeployment from your cluster.
kubectl get deployments -n webNo resources found in web namespace.Conclusion
These tests should help you validate that Flux is properly set up and managing your Kubernetes cluster as expected. Each test provides a practical example of how changes in your Git repository lead to automatic updates in your Kubernetes environment, demonstrating the power and reliability of a GitOps-driven workflow.
We have only scratched the tip of the iceberg. What if you wanted to use your own images and make them always redeploy the latest tag to your cluster with flux? To explore that functionality further, refer to the Flux Image Automation Guide.